The last thing you want as a homebuyer is to realize your new home has extensive issues and needs repair. Here are 8 things to look out for when conducting the final walk-through on your home.
The final walk-through of your new home isn't something to breeze through or take lightly.
Would-be buyers on the cusp of closing can use this opportunity to make sure repairs have been made, appliances and other elements are still there and in good shape and that the property meets the conditions you agreed to with the seller.
The last thing you want is to finalize your home purchase only to discover later problems or issues that should have been addressed before closing.
What Is a Final Walk-Through?
A final walkthrough is an exciting and essential step in the homebuying process. It occurs right before the closing of a home and allows the buyer to inspect the property one last time before fully taking ownership. The main goal is to ensure the property is in the condition as agreed upon in the purchase agreement.
Final Walk-Through Checklist and Tips
1. Give Yourself Time
Try to schedule your final walk-through at least 24 hours before your loan closing. That gives the seller and the lender time to address any issues that arise during the walk-through. Bring a camera and copies of your contract and home inspection report to reference during your visit.
2. Check Repairs
Make sure any required repairs have been satisfactorily completed. Alert your real estate agent immediately if something isn't right. Some home inspectors may be willing to accompany you to assess repairs, often at a lower rate than what they charged for the initial inspection.
3. Assess Conveying Items
You should also make sure everything included in the home purchase is still there and in the same condition as when you last saw it. That can include light fixtures, appliances, furniture, pool tables, and more.
4. Make Sure Everything Works
Flip the lights on and off. Check the fridge, the stove, and every other appliance that's conveying with the home. Bring your cell phone or tablet charger to make sure power is running to every outlet. Check both the heat and the air conditioning, regardless of the season.
5. Test the Plumbing
Flush all of the toilets and make sure all the faucets produce sufficient hot and cold water. Look for leaks or signs of water damage. Run the garbage disposal and the showers. Make sure there are no signs of mold.
6. Open Doors and Windows
Make sure all doors and windows are intact and open, close, and lock properly. Look at window screens, storm windows, and window sills, too, and be sure to check for adequate weather stripping and insulation.
7. Check Ceilings, Floors & Crawl Spaces
Look for signs of water damage or cracking in all the ceilings. Check the floors to make sure they're still in good condition. If there's a crawl space or basement, check the foundation and look for signs of pests or standing water.
8. Look for the Landscaping
It might sound crazy, but check to make sure plants, trees, bushes, and other landscaping elements are still in place. Home sellers have been known to dig up plants to take to their next destination.
Who Attends a Final Walk-Through?
Usually just the buyer and the buyer's real estate agent attend the final walk-through. This allows the buyer to properly inspect the home without any input or pressure from the seller.
How Long Does a Final Walk-Through Take?
A final walk-through typically lasts between 15 minutes to an hour. The duration depends on the property size, the number of agreed-upon repairs to verify, the thoroughness of the buyer's inspection and the buyer's familiarity with the property. It's recommended to set aside at least 30 minutes to ensure a thorough check.
Can a Buyer Walk Away After the Final Walk-Through?
If there are extensive issues with the property during the final walk-through, then yes, the buyer can legally terminate the property's real estate contract.
Doing a final-walkthrough is always in your best interest. Talk with your real estate agent about how best to handle this before you make an offer on a home.
You want to make sure you have an opportunity to view the property one final time before you sit down at the closing table.
Related Posts
-
 5 Most Common VA Loan Myths BustedVA loan myths confuse and deter many VA loan borrowers. Here we debunk 5 of the most common VA loan myths so that you can borrow with confidence.
 -
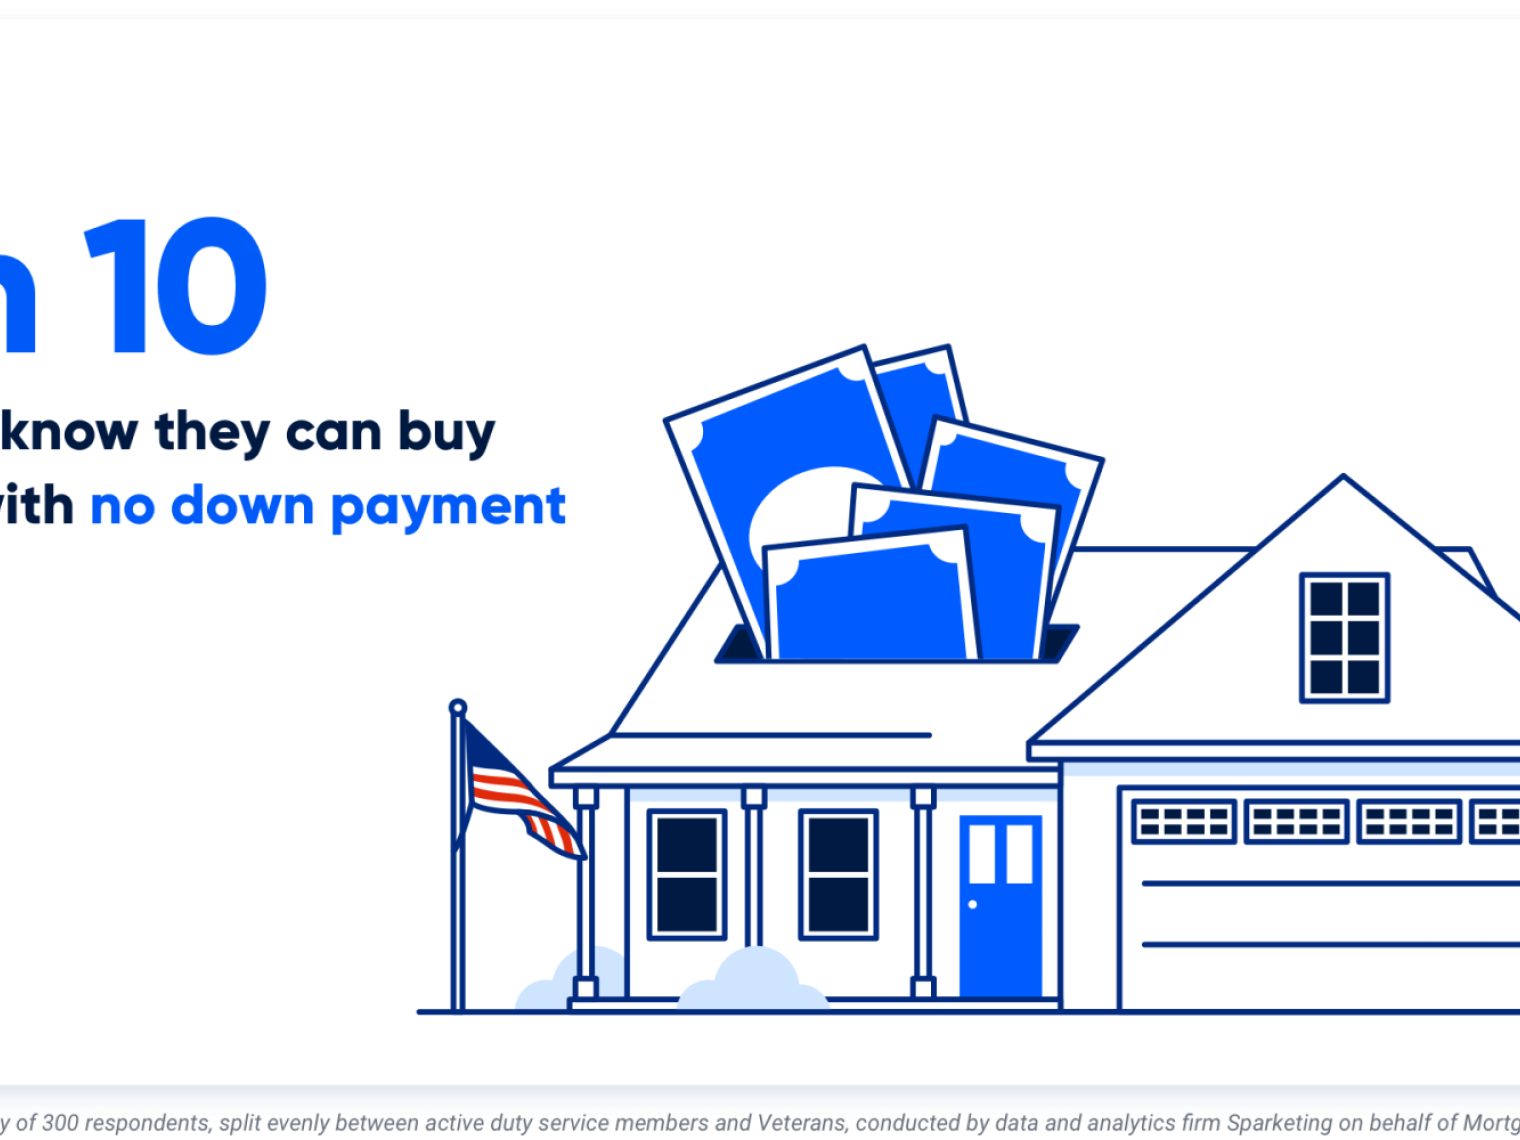
 VA Loan Down Payment RequirementsVA loans have no down payment requirements as long as the Veteran has full entitlement, but only 3-in-10 Veterans know they can buy a home loan with zero down payment. Here’s what Veterans need to know about VA loan down payment requirements.

